Animation has a unique charm and power, captivating audiences worldwide with its vibrant storytelling capabilities. It’s not just cartoons for kids animation is a sophisticated art form that expresses deep emotions, complex narratives, and unforgettable characters.
From heartwarming tales to epic adventures, animation brings stories to life in ways no other medium can match. In this digital age, AI technology is revolutionizing how we create animations, making them more accessible, efficient, and innovative.
Whether you’re an aspiring animator, a storyteller looking to bring your tales to visual life, or just curious about the fusion of technology and creativity, you’ve come to the right place.
This blog post is your comprehensive guide to creating Disney animated videos with AI. We’ll dive into the process step by step, from conceptualizing your story to adding the final touches to your video.
AI has endless possibilities, and the process is more straightforward than you might think. So, let’s embark on this creative journey together and explore how to transform your stories into captivating animated videos with the help of artificial intelligence.
Read more:
1: The Importance of Story in Animation
At the heart of every memorable animated video lies a compelling story. Storytelling is the foundation for all characters, settings, and emotions.
Offering viewers a reason to connect, engage, and care about the animation. A well-crafted story can evoke many emotions, from laughter to tears, and leave a lasting impact on its audience.
Why is the story so crucial in animation? It’s simple. While stunning visuals and captivating soundtracks enhance the viewing experience, it’s the story that people remember and relate to.
The narrative transforms a beautifully animated sequence from a mere spectacle to a meaningful experience.
Finding or creating your story can seem daunting, but inspiration is everywhere:
- Draw from personal experiences. Your life is a rich source of unique stories waiting to be told.
- Adapt from existing tales. Folk tales, myths, or even interesting news articles can provide a solid base for your animated story.
- Observe the world around you. Sometimes, the simplest observations can spark the most creative stories.
In the age of AI, generating stories has become more accessible. AI-driven chatbots, like Google Gemini, are remarkable tools for anyone looking to craft narratives without the heavy lifting of traditional story development.
These platforms use advanced algorithms to generate stories based on keywords or themes you provide. Here’s how you can leverage AI for storytelling:
- Visit an AI-driven chatbot platform like Google Gemini.
- Input your request for a story, including the genre, mood, and key elements you want to incorporate.
- Customize the output by refining your request based on the initial story generated, ensuring it aligns with your vision.
Using AI like Google Gemini to generate stories streamlines the creative process and provides a starting point to expand upon, tweak, and personalize.
This technology opens up a world of storytelling possibilities, making it easier for creators to bring diverse and engaging narratives to their animated videos.
Whether you’re crafting a short love story with a twist or an epic adventure tale, AI-driven story generation is a powerful tool in the animator’s toolkit.
2: Generating Your Story with Google Gemini
Creating a story with AI, particularly with Google Gemini, is like having a collaborative partner who always has ideas.
It’s a straightforward process that can yield complex, nuanced narratives with just a few clicks.
I. The steps to generate your story with AI:
Step 1: Approach Google Gemini with Your Idea
Start by opening Google Gemini and positioning your idea clearly. Be explicit if you’re seeking a story infused with specific elements, such as emotion, dialogue, or a particular setting.
For example, you might type, “Generate a short love story with elements of sadness, heartbreak, but ultimately a happy ending. Include meaningful dialogue between the characters.”
Step 2: Fine-Tuning Your Request
Based on the initial output, you should refine your request to suit your vision better. AI is incredibly responsive to detailed prompts. Adjust your prompt if the first story lacks a certain depth or detail you envisioned.
Add specifics like “The setting is a quaint seaside town” or “Incorporate a subplot involving a lost heirloom.” This iterative process helps hone your narrative until it aligns with your creative vision.
Step 3: Review and Expand the Generated Story
Once Google Gemini provides a story that resonates with your initial idea, it’s time to review and expand. Look at the plot and characters.
Does the story flow logically? Are the characters well-developed? Use this as a foundation to build upon, adding your unique touch or expanding on the AI-generated narrative to further enhance its depth and emotional impact.
II. Incorporating Visual Suggestions
An exciting feature of AI like Google Gemini is its ability to offer visual suggestions. These can serve as a springboard for your animation’s visual development.
After generating your story, ask for visual suggestions for key scenes or characters. Review these suggestions to:
- Visualize your story’s setting and atmosphere more vividly.
- Conceptualize character designs and expressions.
- Inspire scene compositions and color schemes.
This visual guidance is invaluable, especially in the early stages of animation development, helping you to envision how your story translates from text to visual art.
III. Final Thoughts on Using AI for Story Generation
Leveraging AI to generate stories is about more than efficiency; it’s about opening the door to creative possibilities you might have yet to consider.
The key is interacting with AI as a partner in your creative process, using its suggestions as a foundation to build your unique narrative.
Remember, the AI-generated story is just the beginning. Your creativity, insights, and personal touch will bring the story to life in your animated video.
3: Creating Visuals with AI
Transforming the written word into stunning visuals is a thrilling part of creating animated videos.
With advancements in AI, specifically through platforms like Leonardo AI, this process has become more accessible and dynamic.
Leonardo AI’s image-to-video feature is a game-changer, allowing creators to generate detailed images and animate them easily.
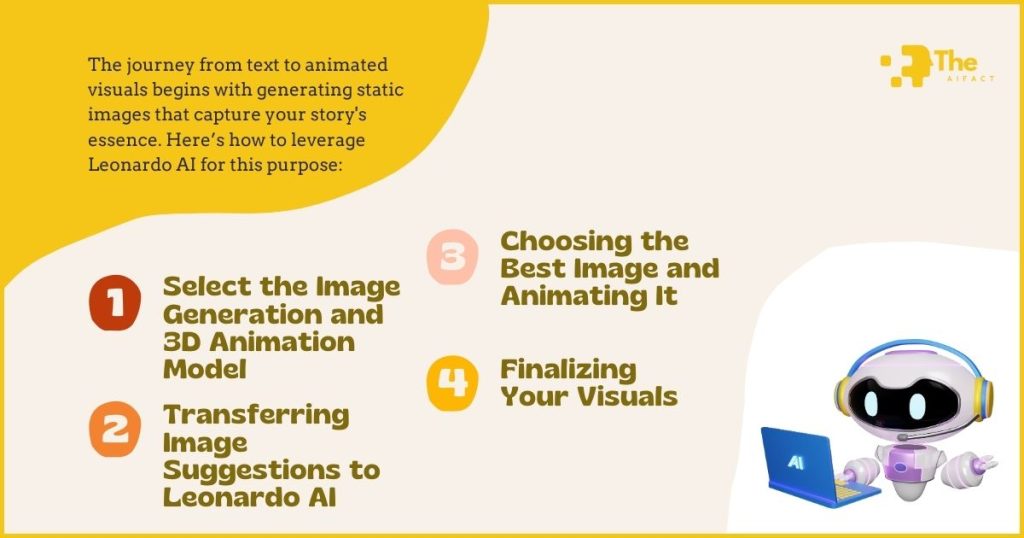
The journey from text to animated visuals begins with generating static images that capture your story’s essence. Here’s how to leverage Leonardo AI for this purpose:
Step 1: Select the Image Generation and 3D Animation Model
Upon accessing Leonardo AI, navigate to the image generation section. Here, you’ll find various models tailored to different artistic needs. For animated video creation, the 3D animation model stands out.
It’s designed to produce images with depth and dimensionality, perfect for animation. Select this model to ensure your visuals have the dynamic qualities needed for animation.
Step 2: Transferring Image Suggestions to Leonardo AI
You likely have some visual suggestions if you’ve used Google Gemini or another AI to conceptualize your story. Take these ideas or specific image prompts and introduce them to Leonardo AI.
Be as descriptive as possible. For instance, if your story involves a dramatic sunset scene, your prompt could be, “Generate an image of a quaint seaside town under a vibrant sunset, emphasizing the romantic atmosphere.“
The more detailed your prompt, the more aligned the output will be with your vision.
Step 3: Choosing the Best Image and Animating It
Once Leonardo AI presents you with a series of images based on your prompt, take your time to select the one that best fits the scene’s mood, setting, and narrative requirements. The right image will speak to you, capturing the essence of your story’s moment.
After selecting the ideal image, proceed to animate it. Leonardo AI’s image-to-video feature is particularly powerful here, allowing you to bring static images to life.
This could mean adding subtle movements to the ocean in the background, causing characters to blink and breathe, or simulating a breeze through the trees. These animations add depth and realism to your story, making the scenes more engaging.
Step 4: Finalizing Your Visuals
With your images selected and animated, you’re well on your way to creating a visually compelling animated video.
Each animated scene should transition smoothly into the next, creating a cohesive visual narrative that complements your story.
Remember, animation is not just about movement; it’s about bringing your characters and their world to life in a way that resonates with viewers.
The process of creating visuals with AI, particularly through Leonardo AI, is a testament to how technology can amplify creativity.
It allows storytellers and animators to explore visual possibilities that were once beyond reach, making animation more vibrant and accessible than ever before.
4: Adding Voiceovers and Narration
Once your animated scenes are ready, the next step is to bring your characters to life with voice.
Voiceovers and narration add a crucial layer of depth to your animation, transforming it from a silent story into a rich, immersive experience.
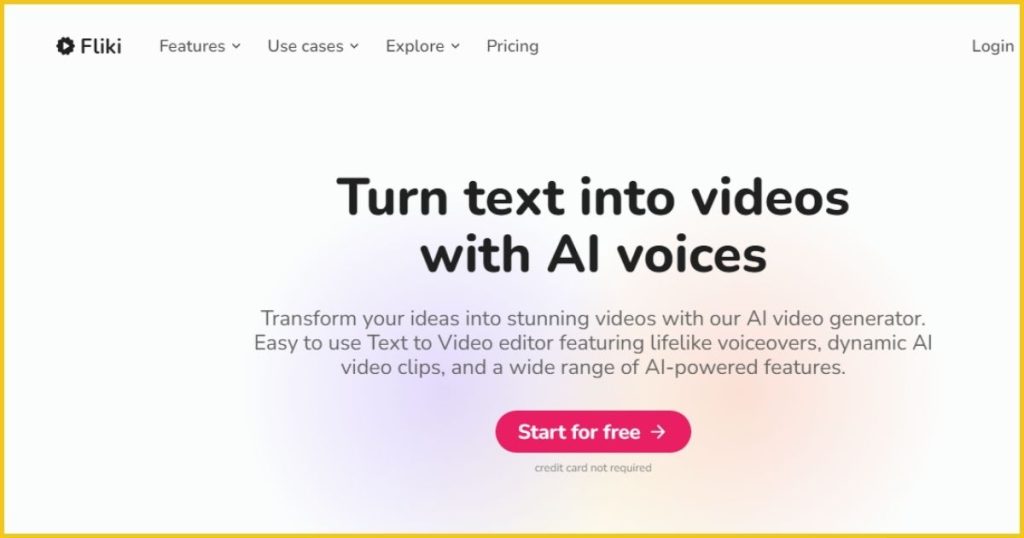
Fliki AI emerges as a pivotal tool in this process, offering a wide range of voice options to match the tone and personality of your characters.
Getting Started with Fliki AI
Step 1: Setting Up an Account
First things first, navigate to Fliki AI’s website and create an account. This straightforward process opens the door to a vast library of voice options. Once your account is active, you can bring your script to auditory life.
Step 2: Selecting Language and Accent Options
One of Fliki AI’s strengths is its diversity in language and accents, allowing you to tailor the voiceover to your story’s setting and characters’ backgrounds.
Whether your character is a British aristocrat or an American teenager, finding the right accent and language is key to authenticity.
Spend time exploring the options and select the ones that best fit your characters and narrative tone.
Step 3: Adding Dialogue and Narration
With your language and accent selections made, it’s time to input your script into Fliki AI. This platform allows you to directly add dialogue and narration text, segmenting it according to scenes or characters. Be meticulous in this process to ensure that each line of dialogue aligns with the correct voice and scene.
Step 4: Choosing Voice Actors
Now, delve into the exciting part of choosing voice actors for your characters. Fliki AI provides samples from various voice actors, making matching a voice to your character’s personality and emotional range easier.
Listen to several samples for each character and select the voice that best represents their persona.
If your story involves multiple characters, take your time to choose distinct voices for each to avoid any confusion during playback.
Final Touches and Preview
After assigning voice actors to your characters and inputting all dialogue and narration, preview the generated audio within Fliki AI.
This step is crucial for catching any mismatches or errors in tone, pace, or emotion. Adjustments can be made easily, ensuring that the final voiceover perfectly captures the essence of your story.
Adding voiceovers and narration through Fliki AI not only brings your animation to life. But also enhances the emotional depth and engagement of your story.
This auditory layer, combined with your visuals, creates a fully immersive experience, inviting viewers into the world you’ve made.
Remember, your chosen voice can significantly affect how your characters are perceived, so give this step the attention and creativity it deserves.
5: Synchronizing Lip Movements with Lalamu Studio
The magic of animation comes alive when your characters start speaking with voices that perfectly sync with their lip movements. It’s crucial for adding realism and depth to your animated stories.
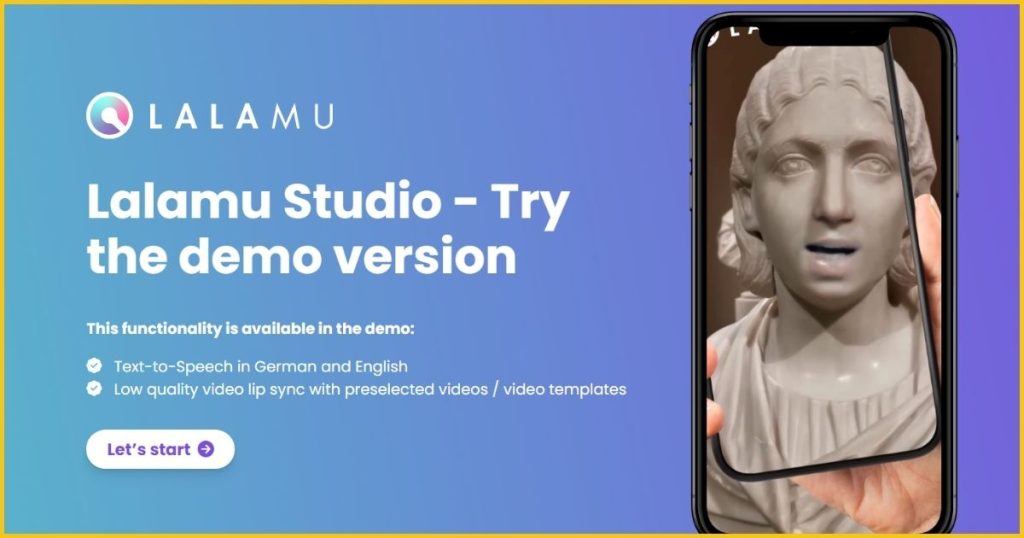
Lalamu Studio is a powerful tool for achieving seamless lip-syncing in animations, ensuring your characters’ dialogues and expressions are convincingly aligned. Let’s dive into how to use Lalamu Studio for this purpose.
Step 1: Preparing Your Assets
Before heading to Lalamu Studio, ensure you have ready all your video clips and corresponding voiceover audio files.
These should be the finalized versions, as you’ll be syncing the audio to the characters’ mouth movements in each clip.
Step 2: Uploading Video Clips and Voiceover Audio
- Navigate to Lalamu Studio: Open your browser and go to Lalamu Studio’s website. You might need to create an account or log in if you haven’t already.
- Upload Your Video Clips: Once logged in, you’ll find an option to upload your video clips. Select the video file you wish to lip-sync and upload to the platform.
- Add Your Voiceover Audio: After uploading the video, you’ll see an option to add new audio. Here, upload the corresponding voiceover audio file for the video clip you’ve just uploaded. This is where the magic begins, as Lalamu Studio will analyze the audio and video to sync the character’s lip movements with the spoken words.
Step 3: Generating Lip-Synced Videos
With your video and audio files uploaded, generate the lip-synced video. Lalamu Studio uses advanced algorithms to match the voiceover audio’s phonetics with the characters’ appropriate mouth shapes and movements in the video.
This process may take a few moments, depending on the length and complexity of your clip.
- Review the Sync: Review the lip-synced video once the process is complete. Ensure the audio matches the visual lip movements accurately. Lalamu Studio does an excellent job, but it’s always good to double-check.
- Make Adjustments if Necessary: Lalamu Studio provides tools to adjust the timing or sync manually if you notice any discrepancies. This ensures that your final product is as polished as possible.
Step 4: Downloading Your Lip-Synced Videos
Satisfied with the lip-sync? It’s time to download your video. Lalamu Studio allows you to download the finalized clip directly to your device. This file is ready to be incorporated into your larger animation project, complete with perfectly synced dialogue.
Step 4: Integrating Lip-Synced Clips into Your Project
With your characters now speaking naturally, as if truly alive, integrate these clips into your main animation timeline. Adding well-synced lip movements significantly enhances your animated story’s believability and emotional impact.
Lalamu Studio simplifies what was once a complex and time-consuming part of animation production. By utilizing this tool, you ensure that your animated characters sound realistic and look the part, engaging your audience more deeply with every word they speak.
6: Video Editing and Assembly
After creating your animated clips and syncing their lip movements with voiceovers, the next step is to assemble these pieces into a coherent story.
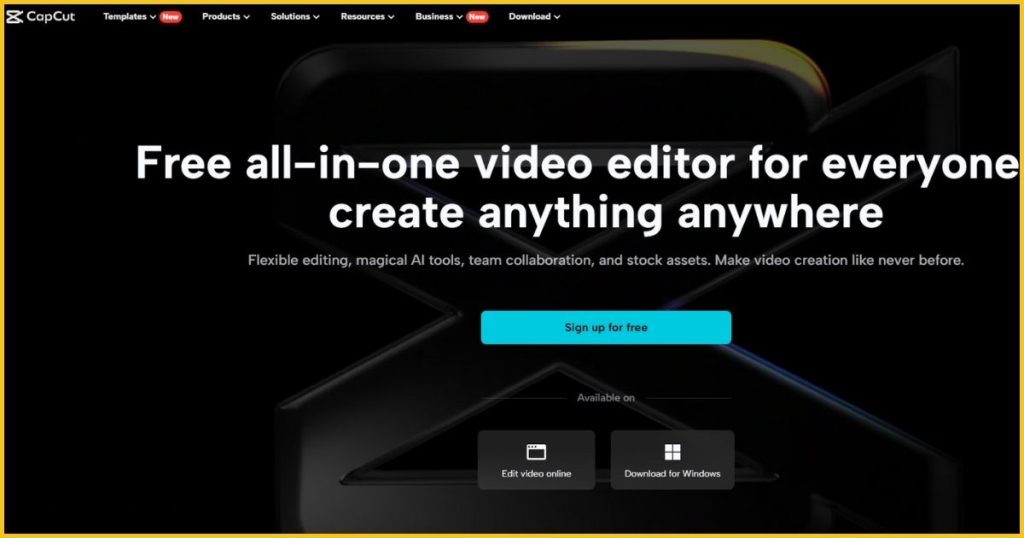
CapCut is an intuitive and powerful tool for this stage, offering a user-friendly interface and robust features to bring your animation project together seamlessly.
Here’s how to use CapCut to assemble your clips and audio into a polished animated video.
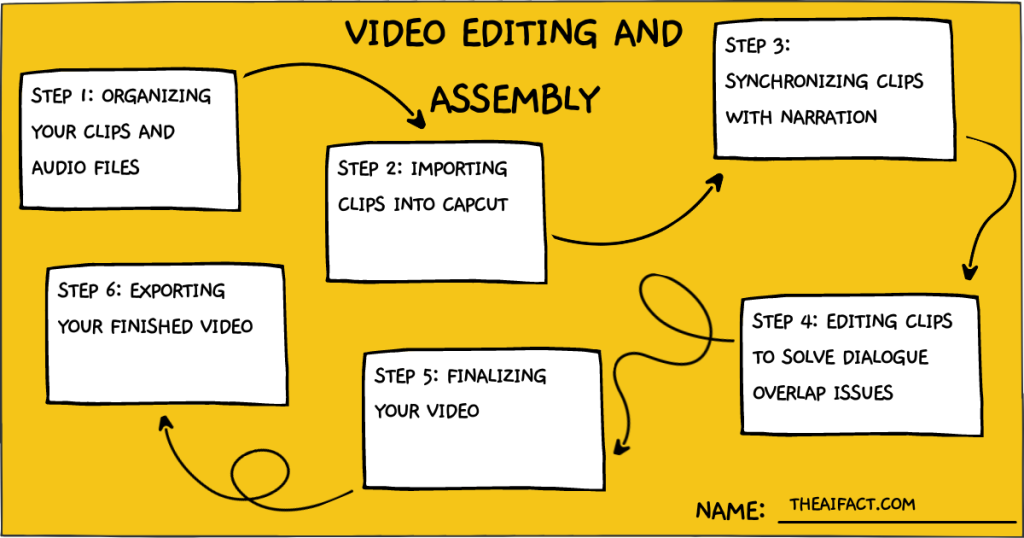
Step 1: Organizing Your Clips and Audio Files
Before diving into CapCut, organize all your video clips and audio files. Ensure they are labeled or ordered in a way that makes it easy to identify which clip goes where in your story. This preliminary step saves time and confusion during the editing process.
Step 2: Importing Clips into CapCut
- Open CapCut and Start a New Project: Launch CapCut on your device and select the option to start a new project. This will open a workspace where you can import and edit your clips.
- Import Your Video Clips: Tap the ‘Import’ or ‘Media’ option and select your prepared video clips. Upload them into your CapCut project, ensuring they are in the correct sequence according to your storyboard or script.
Step 3: Synchronizing Clips with Narration
Once your clips are in place, the next step is to add and synchronize the narration and voiceover audio.
- Add Your Audio Files: Navigate to the ‘Audio’ section in CapCut and import your voiceover and narration files. You can then drag and drop these audio files onto the timeline, aligning them with the corresponding video clips.
- Synchronize Audio with Video: Playback your timeline to ensure the voiceovers match the lip-synced animations. Adjust the positioning of the audio clips as needed to achieve perfect synchronization.
Step 4: Editing Clips to Solve Dialogue Overlap Issues
Dialogue overlap can occur when two characters speak simultaneously, making it difficult for viewers to understand the conversation. CapCut’s masking tools can be employed to address this:
- Identify Overlap Areas: Scrub through your timeline to find any sections where dialogue overlaps.
- Use Masking Tools: Select the clip to isolate a character’s dialogue. Navigate to the ‘Effects’ panel and choose the ‘Mask’ tool. With it, you can create a mask around the character whose voice should be prominent, effectively isolating their dialogue from the overlapping audio.
- Adjust Audio Levels: For the overlapped dialogue, you may also need to adjust the audio levels to ensure one character’s voice is dominant while the other is appropriately subdued.
Step 5: Finalizing Your Video
Review your project from start to finish with all clips and audio in place and synchronized. Watch for pacing, transitions, and the overall flow of the narrative. CapCut offers a range of transition effects and editing tools to enhance your animation, ensuring a smooth and engaging viewer experience.
- Add Transitions: Smooth transitions between scenes can significantly improve the storytelling flow. Experiment with CapCut’s transition effects to find styles that complement your animation.
- Color Correction and Filters: Use CapCut’s color correction and filter tools to enhance the visual appeal of your animation, ensuring consistency in tone and atmosphere throughout the video.
Step 6: Exporting Your Finished Video
It’s time to export once you are satisfied with your assembled animation. CapCut provides various export settings to optimize your video for different platforms. Choose your desired settings and export your video.
The video editing and assembly process with CapCut brings your animated story to life and allows for creative expression through editing techniques.
You create an animated video that tells your story visually and emotionally engagingly by carefully assembling your clips, syncing audio, and applying finishing touches.
7: Adding Background Music and Final Touches
Adding background music is the final layer to elevate your animated video from good to great. Enveloping your audience in the mood and atmosphere of your story.
It’s crucial, however, to choose the right track that complements your narrative’s tone, pace, and emotional arcs.
Here’s how to select and integrate background music and apply the final touches to your project.
Selecting the Right Background Music
- Consider the Tone and Theme: The music should mirror the emotional journey of your animation. A light-hearted story benefits from upbeat, cheerful tunes, whereas a more dramatic tale might require a somber or intense score.
- Mind the Pace: The rhythm of the music should match the pacing of your story. Fast-paced sequences may need a quicker tempo to keep the energy up, while slower scenes can be paired with a more laid-back track.
Sourcing Music from Platforms like Pixabay
Platforms like Pixabay offer a treasure trove of royalty-free music suitable for various projects. When searching for music, use specific keywords related to the mood, genre, or instrument you envision for your animation.
Always review the licensing to ensure the music is free for your intended purpose, especially if your project is for commercial use.
- Download Your Selected Track: Once you’ve found the perfect piece, download it in the appropriate format for your editing software.
Adding Background Music in CapCut
- Import the Music File: Open your project in CapCut and navigate to the ‘Audio’ section. Import your downloaded background music file into your project.
- Adjust Placement and Length: Drag the music file onto your timeline, adjusting its placement to start and end where you want. You should trim or loop the music to fit the length of your video.
Adjusting Music Volume
- Balance with Dialogue and Effects: Your background music should enhance the dialogue and sound effects, not overpower. Play your video and listen carefully to the mix. Adjust the music volume to ensure it supports but doesn’t drown out your characters’ voices and any crucial sound effects.
- Use Fade In/Out: To make the music’s entrance and exit more natural, use the fade-in and fade-out options. This is particularly effective at the beginning and end of your video or during transitions between scenes.
Applying Final Touches
With your background music set, review your entire video for any final adjustments. This could include:
- Final Color Grading: Ensure the visual tone is consistent throughout your video. Color grading can enhance the mood and make your animation visually cohesive.
- Check Transitions: Ensure all transitions between scenes are smooth and serve the narrative flow.
- Add Credits or Titles: If applicable, add opening titles or closing credits to acknowledge the creators, music, and any other contributions.
Exporting Your Final Video
With all elements in place, visuals, voiceovers, sound effects, and now music, it’s time to export your masterpiece.
Select the export option in CapCut, choosing the resolution and format that best suits your distribution platform.
Before you hit the final export button, ensure everything is as you want by previewing your project one last time. Adding background music and applying these final touches are crucial steps in the video creation process.
They enhance the storytelling experience and ensure that your animated video leaves a lasting impression on its audience.
Remember, the goal is to create a harmonious blend of visuals, narration, sound effects, and music that tell a compelling story together.
FAQs on Creating Animated Videos with AI
1. Do I need prior animation experience to use AI tools for creating animated videos?
Prior animation experience is optional for using AI tools like Google Gemini, Leonardo AI, Fliki AI, and Lalamu Studio. These platforms are designed to be user-friendly and accessible to beginners, with intuitive interfaces and guided processes that help you create animated videos from scratch.
2. Can I use AI-generated animated videos for commercial purposes?
Yes, you can use AI-generated animated videos for commercial purposes. Still, you should ensure that all elements used in the video, including images, voiceovers, and music, are licensed appropriately for commercial use. Always check the terms of service for each AI tool and source platform for music and images to ensure compliance.
3. How long does creating an animated video with AI take?
The time it takes to create an animated video with AI can vary depending on the project’s complexity, the video’s length, and your familiarity with the AI tools. Simple projects can take a few hours, while more complex videos may require several days to complete, especially if you’re new to the software or working on detailed animations.
4. Is it expensive to use AI tools to create animated videos?
Many AI animation video creation tools offer free versions or trial periods, which are great for beginners and small projects. However, you may need to subscribe to a paid plan to access advanced features or commercial use. Costs vary by platform, but investing in these tools can be cost-effective compared to traditional animation production methods.
5. Can I customize the AI-generated stories and visuals to fit my brand or personal style?
Absolutely! AI-generated stories and visuals serve as a starting point for your creativity. You can customize and tweak the generated content to align with your brand identity or personal style. This includes editing the storyline, changing visual elements, selecting specific voice actors, and incorporating brand colors or themes into your animation. AI tools offer flexibility and customization options to ensure your animated video reflects your unique vision and message.
Conclusion
We’ve journeyed through the creative process of crafting animated videos with AI, from conceptualizing a story with Google Gemini with Leonardo AI to adding voiceovers and synchronizing lip movements using Fliki AI and Lalamu Studio.
We navigated the intricacies of video editing with CapCut and enriched our creation with the perfect background music, ensuring every element harmonizes to tell a compelling story.
Your creativity and these AI tools have the power to transform ideas into visual narratives that resonate, entertain, and inspire. But the journey doesn’t end here. The true magic happens when you share your work with the world.
We encourage you to post your animated videos in the comments section below. Share your experiences, challenges, and how you overcame them. This is how we learn, grow, and inspire each other to create even more remarkable stories.