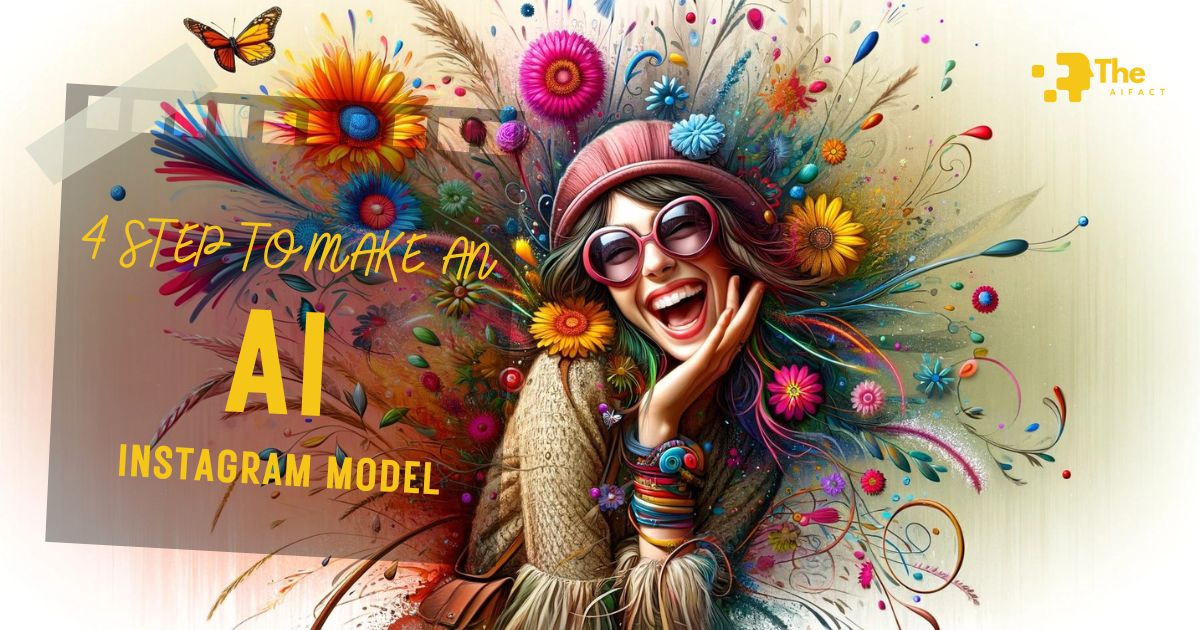
Remember the buzz around AI influencers last year? Well, we’re diving even deeper this time. The world of digital influencers has evolved rapidly from quirky chatbots to lifelike avatars that dominate our feeds.
Today, we’re entering the future with the ultra-realistic 3D AI Instagram Model. Imagine characters so real they blur the lines between virtual and reality.
We’re not just talking about any influencers. We’re discussing creating engaging, entertaining personalities and selling like human influencers. Still, with a twist, they’re entirely crafted by AI, with jaw-dropping realism.
And guess what? I’m going to walk you through every step of this fascinating journey. From downloading the right tools to bringing your AI Instagram model to life, this guide is your all-access pass to cutting-edge digital creativity.
Whether you’re a tech whiz or a curious newbie, prepare to be amazed. Let’s make some magic happen, shall we? Stay tuned because this ride is about to get interesting.
Read more:
Step 1: Getting Started with 3D Modeling Software
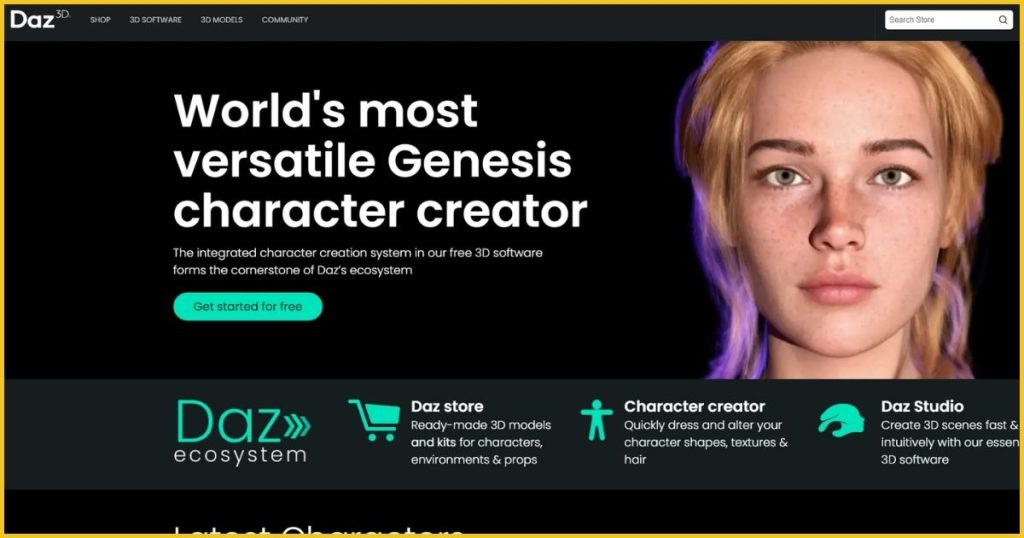
Alright, Lemonheads, let’s kick things off by diving into the heart of our project—the 3D modeling software. After a wild ride with different tools, we’ve landed on Daz 3D as our go-to choice. Why, you ask? Simple.
Daz 3D is like the Swiss Army knife for creating ultra-realistic characters. It’s not just any tool; it’s the tool if you’re aiming for lifelike perfection.
Why Daz 3D? For starters, Daz specializes in realistic characters. This isn’t about crafting cartoonish figures. We’re aiming for digital beings that could walk off your screen.
The level of detail, the range of customization, and the sheer quality of the models are unmatched. Plus, it’s user-friendly, making it a perfect pick for pros and newbies.
Now, let’s get our hands dirty. Here’s a quick guide to get you started with Daz Studio:
- Head over to the Daz 3D Website: There is no need to scour the internet; click here to go directly to their official site. Trust me, it’s your first step into a larger world.
- Click ‘Get Started for Free’: Daz Studio is generously free, which is incredible considering what this powerhouse can do. Just hit that ‘get started’ button to begin your download journey.
- Sign Up and Download: You’ll need to create an account. Don’t worry; it’s a straightforward process. Once you’re in, navigate to Daz Studio in the installer section and hit download.
- Install Like Any Other Program: If you’ve ever installed a program on your computer, you’re already an expert. Follow the prompts, and voilà, you’re ready to roll.
- Download All Components: Daz Studio comes with a bunch of components. Make sure to download them all to unlock the software’s full potential.
And that’s it! You’re now the proud operator of Daz Studio. Feel that? That’s the excitement of being on the brink of creating something extraordinary.
Step 2: Creating Your 3D Character
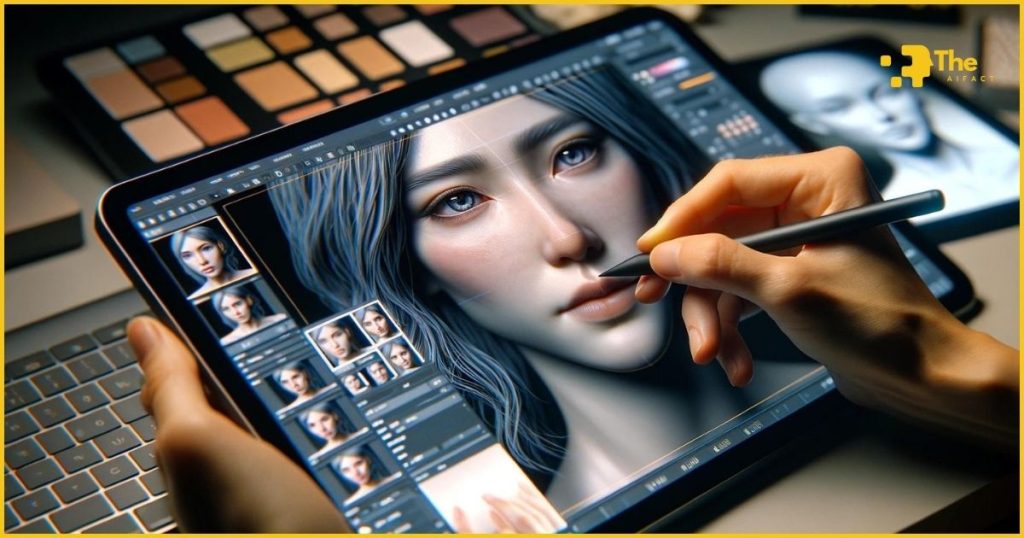
Now that you’ve got Daz Studio up and running, it’s time to unleash your creativity and start crafting your 3D AI influencer. This is where the fun begins!
Dipping Into Smart Content
First up, let’s talk about Daz Studio’s Smart Content feature. Think of it as your best friend in the design process.
It smartly organizes all available assets:
- Models
- Clothes
- Hair
- Accessories
- Environments
This tool is convenient for finding precisely what you need without getting lost in the vast sea of options.
Selecting and Customizing Your Figure
- Choosing Your Figure: Select ‘Figures’ from the Smart Content panel. Here, you’ll find a variety of base models to choose from. Double-click on a figure to load it into your scene. Remember, this is just the starting point; the real magic happens next.
- Adding Clothes: Now, let’s dress them up! Navigate to the ‘Wardrobe’ section and choose outfits that fit your character’s personality. Daz’s library is extensive, allowing you to create any style you envision, from casual chic to futuristic warrior.
- Choosing Hair: A character’s hair can say a lot about them. Head to the ‘Hair’ section and select a style that complements your character’s look. You can find anything from sleek bobs to wild, untamed locks with Daz.
Breathing Life Into Your Character
- Facial Expressions: This is where your character starts to come alive. Click on your character’s face, then explore the posing options on the right-hand side. Adjust sliders to tweak their brow, mouth, and eyes, or play with the emotion sliders to capture the perfect expression, from flirty to angry to smiling.
- Posing: A great pose can tell a story all by itself. While you can manually adjust limbs, I recommend using the ‘Poses’ section under Smart Content for professionally crafted postures. It’s a quick way to give your character a natural, dynamic look.
Creating Scenes and Videos
- Adding Environments: Want to place your character in a lush garden or a sleek cityscape? Go to the ‘Environments’ tab and select a backdrop that adds context and depth to your creation.
- Making TikTok Videos: Yes, you heard that right. Select the ‘Animations’ tab to find actions that can bring your character to life in motion. Although it might look slightly laggy in the editor viewer, the final animation will be smooth.
By now, you’ve transformed a basic model into a character with personality, style, and emotion. But we’re not stopping here. With Daz Studio, the possibilities are just beginning.
Your character can be anyone, do anything, and exist anywhere. And that, my friends, is the true power of 3D AI influencers.
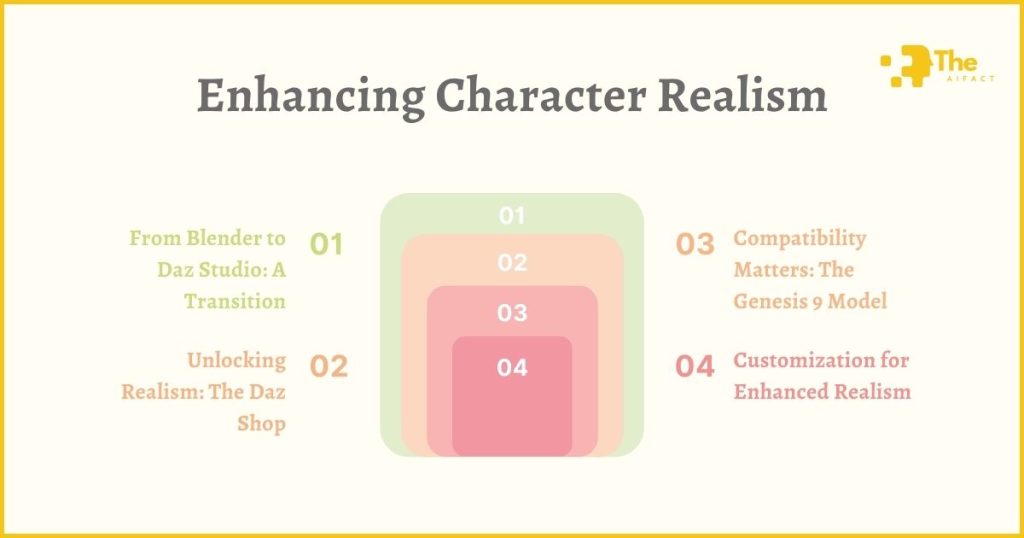
Step 3: Enhancing Character Realism
After diving into the basics of character creation, it’s time to level up. We’re on a quest for realism that genuinely captivates and convinces us.
So, how do we elevate our characters from digital constructs to lifelike entities? Let’s embark on this journey together.
I. From Blender to Daz Studio: A Transition
Many of us start our 3D modeling adventures with Blender. It’s robust, accessible, and has a steep learning curve that can be challenging and thrilling.
However, Daz Studio emerges as the front-runner when crafting ultra-realistic human characters. Its user-friendly interface and specialized focus on realistic human models make it the ideal choice for our project.
The transition from Blender to Daz Studio is like moving into a new home that’s already furnished. Everything you need is at your fingertips.
II. Unlocking Realism: The Daz Shop
To truly capture the essence of realism, the Daz Shop becomes our treasure trove. Here, we can find high-quality models that bring our characters to life. These models come with intricate details that mimic natural human anatomy and textures, making our influencers almost indistinguishable from real humans.
III. Compatibility Matters: The Genesis 9 Model
While diving into the Daz Shop, it’s crucial to understand model compatibility. The Genesis 9 series, for instance, represents the pinnacle of realism and versatility in Daz Studio.
These models are designed to work seamlessly with a wide range of accessories, clothes, and hair options available in the Daz marketplace.
However, this means that not all assets are interchangeable with older models like Genesis 2 or 3.
This lesson in compatibility is vital; it guides us to make informed choices that save time and resources.
IV. Customization for Enhanced Realism
With a high-quality model selected, we delve into customization. Daz Studio offers unparalleled control over every aspect of our character’s appearance:
- Physical Appearance: Beyond selecting a model, we can fine-tune muscle tone, body shape, and even specific facial features. Do you want your character to have a more athletic build or a fuller figure? Adjustments are just a few clicks away.
- Expressions for Emotional Depth: Realism isn’t just about looks; it’s about conveying emotion. Daz Studio allows us to adjust our character’s facial expressions precisely, enabling them to display various emotions. This capability is critical to creating influencers who can deeply connect with their audience.
- Dynamic Poses and Environments: Placing our character in a dynamic pose within a realistic environment adds layers to their personality. It’s not just about standing there; it’s about authentically interacting with their surroundings.
Focusing on these elements transforms our characters from digital creations to entities with depth, personality, and realism. They’re not just seen but felt, remembered, and followed.
Step 4: Rendering and Generating Images
Our ultra-realistic 3D AI influencers are now entirely crafted, so it’s time to bring them into the spotlight. Rendering is where all the pieces come together, showcasing your character in full glory.
This step is crucial, as it’s all about capturing the realism and personality we’ve meticulously sculpted. Let’s dive into how to render your creations with the precision of a professional photographer.
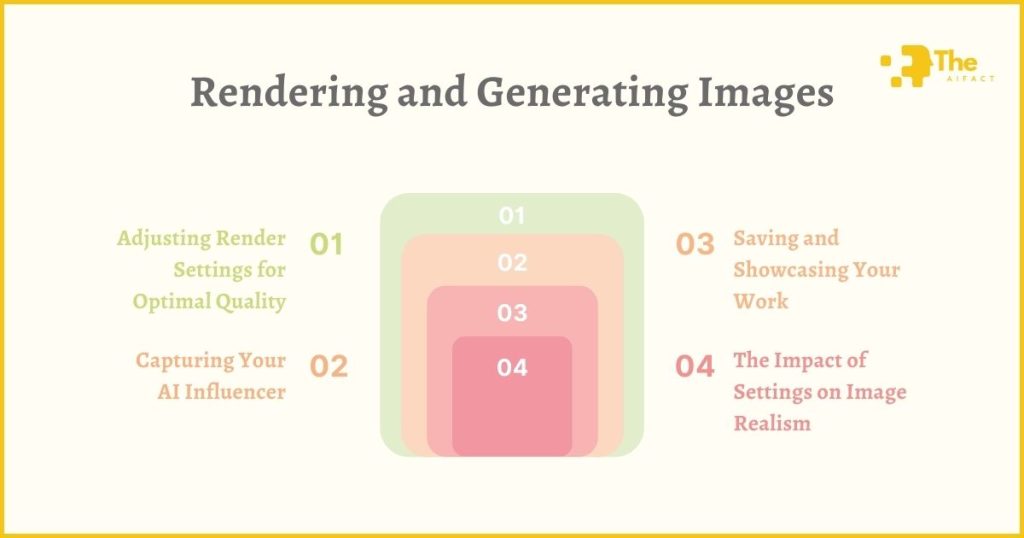
I. Adjusting Render Settings for Optimal Quality
Rendering is an art in itself. The correct settings can transform a good image into a breathtaking one. Daz Studio offers a plethora of rendering options, but let’s focus on the essentials to achieve the highest quality:
- Resolution Matters: Navigate to the render settings and pay close attention to the resolution. Higher resolution means sharper images but also longer render times. For most projects, a balance is critical. Aim for a resolution that brings out the details without making you wait ages.
- Lighting is Key: Realism lives and dies by lighting. Experiment with different light sources and intensities. Daz Studio’s Iray renderer excels in simulating real-world lighting conditions, making it your best bet for lifelike results.
- Depth of Field: Adding depth of field can bring your character to the forefront and blur out distractions in the background. It’s a simple tweak in the camera settings that adds a professional touch to your images.
II. Capturing Your AI Influencer
Now, for the exciting part, take photos of your AI influencer. Follow these steps to ensure you capture them in their best light:
- Position Your Character: Place your character in the scene. Consider the composition of how your character interacts with their environment to tell a story.
- Set the Camera: Choose your camera angle wisely. Different angles can dramatically change the mood and perception of your character. Play around until you find the perfect shot.
- Render the Scene: With everything set, hit the render button. Watch as Daz Studio brings your vision to life, pixel by pixel. Depending on your settings and system, this process can take minutes to hours.
III. Saving and Showcasing Your Work
Once the render is complete, remember to save your masterpiece. Choose a file format that suits your needs; for most, a high-quality JPEG or PNG will do the trick.
Now, you’re ready to showcase your AI influencer to the world. Whether for a digital portfolio, social media, or a personal project, your creation is ready to impress.
IV. The Impact of Settings on Image Realism
The difference in image quality with various render settings can be stark. A lower resolution might save time, but details can get lost.
Conversely, a high-resolution image reveals the subtleties of textures and lighting, bringing your character to life. The same goes for lighting and depth of field. Each element contributes to the overall realism of your image.
By carefully adjusting these settings, you have the power to create images that not only look real but feel real. This is where your skills and creativity shine, turning a digital model into a character that captivates and connects with viewers.
Congratulations! You’ve just completed a journey from novice to nearly pro in creating ultra-realistic 3D AI influencers. Armed with these skills, the digital world is your oyster.
What stories will you tell? Who will you create next? The possibilities are endless, and I can’t wait to see where your creativity takes you.
Bonus Step of Make an AI Instagram Model
Now that you’ve mastered creating ultra-realistic 3D AI influencers, let’s add another tool to your arsenal: face swapping with AI.
This technique opens up new horizons for creativity, allowing you to place your influencer’s face in various scenarios, embody different characters, or even mimic real-world individuals (with ethical considerations, of course).
The Magic of AI Face Swapping
Face-swapping technology has evolved significantly thanks to advancements in AI. Tools like Midjourney and others have democratized the ability to create convincing face swaps, making them accessible to creators at all levels.
These tools use sophisticated algorithms to analyze and match facial features, ensuring seamless integration between the swapped faces and their new contexts.
Exploring Tools for Face Swapping
- Midjourney: Primarily known for its text-to-image capabilities, Midjourney also offers features that can be leveraged for face swapping. It excels in creating high-quality, artistic images, making it an excellent choice for adding a unique flair to your influencer’s persona.
- Other Tools: Several AI tools and platforms are designed specifically for face swapping. These range from user-friendly apps for casual creators to more advanced software that offers granular control over the swapping process. Depending on your project’s complexity and needs, one of these specialized tools is more suitable.
Case Study: Bringing It All Together
Let’s walk through a simplified case study to demonstrate how you might use face swapping to enhance your AI influencer’s versatility and appeal:
- Start with a High-Quality Image: Begin with a clear, well-lit photo of your AI influencer, ideally with a neutral background. This will be your source image for the swap.
- Choose Your Target Image: This is the photo you want to swap your influencer’s face onto. It could be anything from a famous painting to a scene from a popular movie. The key is to ensure the lighting and angle match your source image as closely as possible for a realistic swap.
- Utilize Your Chosen Tool: Let’s use Midjourney for this example. You would navigate to the platform, upload your source image, and specify the target image for the swap. The AI then processes both photos, analyzing the facial features to create a seamless blend.
- Fine-Tuning: Most tools offer some level of post-swap editing. These features adjust the match further, ensuring the skin tones, lighting, and facial expressions align perfectly.
- Showcase Your Creation: Once you’re satisfied with the swap, it’s time to share your work. Whether it’s part of a social media campaign, a narrative video, or a digital gallery, your face-swapped AI influencer is ready to make an impact.
This advanced technique broadens the range of content you can create and adds depth to your influencer’s digital persona. It invites viewers to see them in diverse roles and settings, enhancing engagement and sparking imagination.
Remember to use face-swapping responsibly, respecting privacy and consent, and with all powerful tools. With that in mind, you’re now equipped to push the boundaries of digital creativity and storytelling. The future of AI influencers is bright and endlessly fascinating, and you’re right at the forefront. Happy creating!
FAQs
What software do I need to create a 3D AI influencer?
Daz 3D is highly recommended for its specialization in realistic characters and user-friendly interface. It offers a vast library of assets and customization options to bring your AI influencer to life.
Is Daz 3D free to use?
Yes, Daz Studio is free to download and use. It also provides access to free models and assets, though premium content is available for purchase for enhanced realism.
Can I create any type of character with Daz 3D?
Absolutely! Daz 3D allows for the creating of a wide range of characters, from humans to fantastic creatures. The extensive customization options enable you to define every aspect of your character’s appearance.
How do I make my character look more realistic?
Focus on details like skin textures, realistic lighting, and natural poses. Investing in high-quality models from the Daz Shop and fine-tuning facial expressions and body shapes can significantly enhance realism.
Can I create videos with my 3D AI influencer?
Daz 3D supports animations, allowing you to create videos featuring your AI influencer. This includes simple movements, facial animations, and complex scenarios in various environments.
How long does it take to render an image?
Render times can vary widely based on the complexity of your scene, the quality settings, and your computer’s hardware. Smaller images may take a few minutes, while high-resolution scenes take hours.
Where can I learn more about using Daz 3D?
Daz 3D offers tutorials and a supportive community forum on their official website. Additionally, numerous online resources and video tutorials can provide further guidance.
Conclusion
We’ve journeyed through the captivating process of creating an ultra-realistic 3D AI influencer for Instagram. From selecting the right 3D modeling software with Daz Studio to customizing our characters with lifelike detail and rendering stunning images that blur the lines between digital and reality.
The addition of face-swapping techniques further pushes the boundaries of what’s possible, allowing for unparalleled creativity and engagement.
This adventure underscores the importance of investing in quality resources. Whether it’s time, effort, or software, the value of premium tools and dedication cannot be overstated. They are the bedrock of creating something truly extraordinary.
Now, it’s your turn to dive into the AI revolution. Embrace these tools and techniques, and let your creativity run wild.
The future of digital influencers is not just about technology. It’s about the stories you tell and the connections you aspire to create.